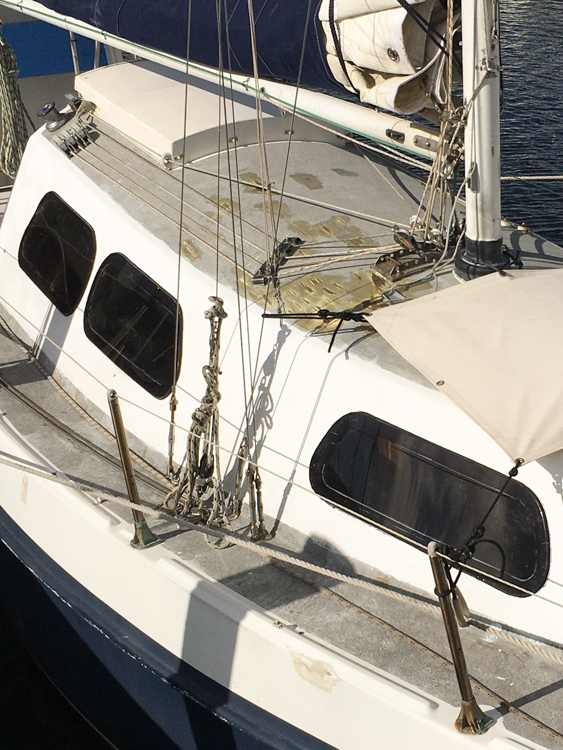
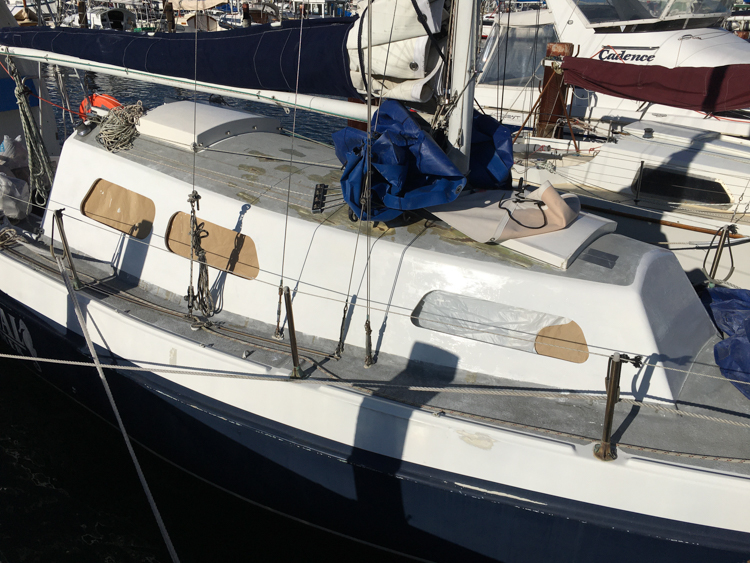
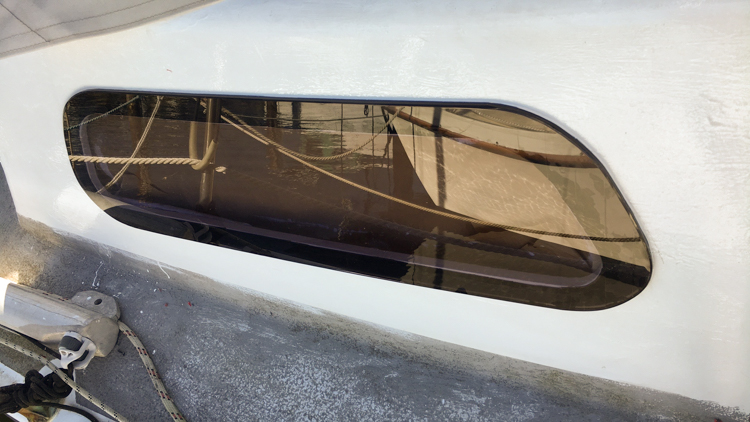
Our new boat leaked when it rained. It wasn’t subtle; water poured in around the badly sealed acrylic windows, and through the screw holes, and through the wooden framing.

Given the sheer volume of rain water that we were pumping out of the bilges on every visit, it was clear that this was Item 1 on the agenda.
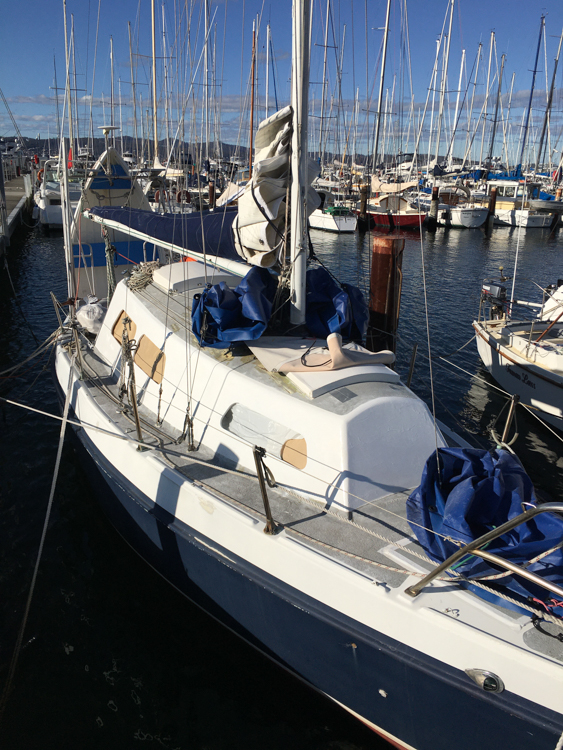
For the last decade, Cheval de Mer had been sitting in her berth, with the starboard side facing into the prevailing weather. The port side wasn’t too bad, but to starboard the paint had flaked off, and parts of the forty-year-old marine-ply superstructure had degraded to such an extent that they were water-permeable.
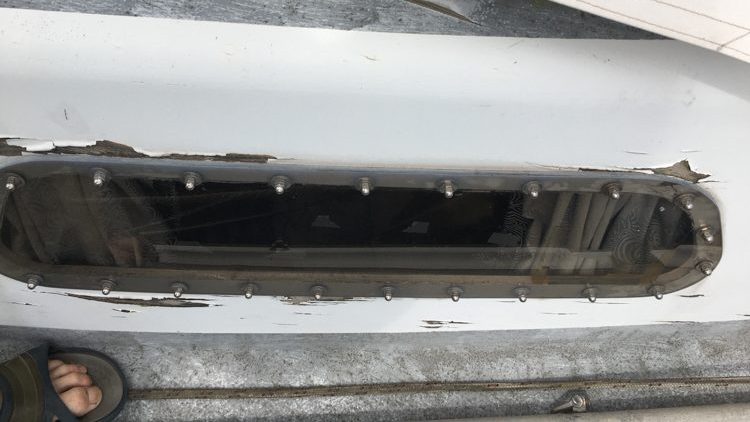
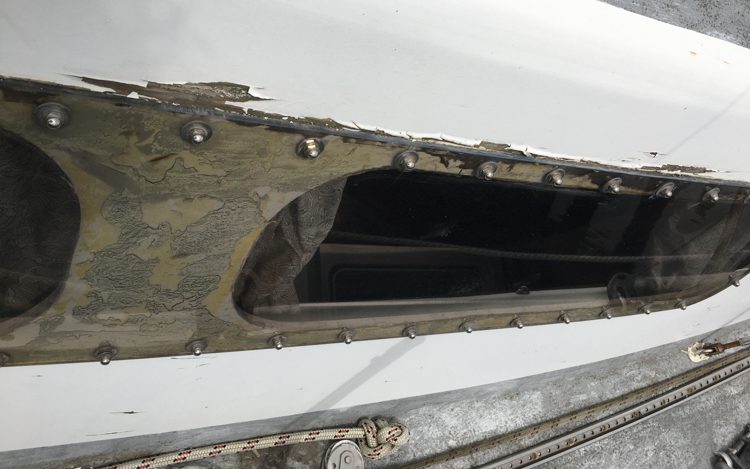
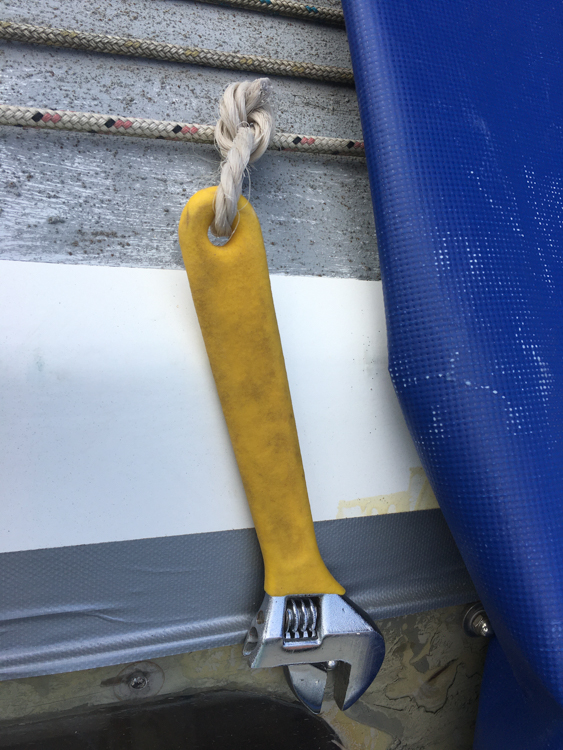
My first task was to undo the dozens and dozens of dome-nuts that held the windows on. This was tricky without an assistant, and I didn’t have a mole-grip to hand. I rigged up a spanner hanging from a line on the outside, which provided just enough resistance to undo the screw from the inside. Then return outside to reset the spanner, then back inside. Repeat… it took a while.
The old acrylic windows to starboard then popped out easily in a flurry of weathered wood-flakes.
The port-side windows were fixed with sterner stuff. They had been glued in with a strong sealant, and the only way to get them out was to shatter them with a blunt implement. Eventually I extracted all the shards from the frame, only to find that the sealant itself was still firmly bonded to the paint all down the port side, completely immune to scraping. I got it off by applying a heat-gun, which didn’t affect the sealant but which bubbled up the paint underneath so that I could get the whole mess off with a scraper.

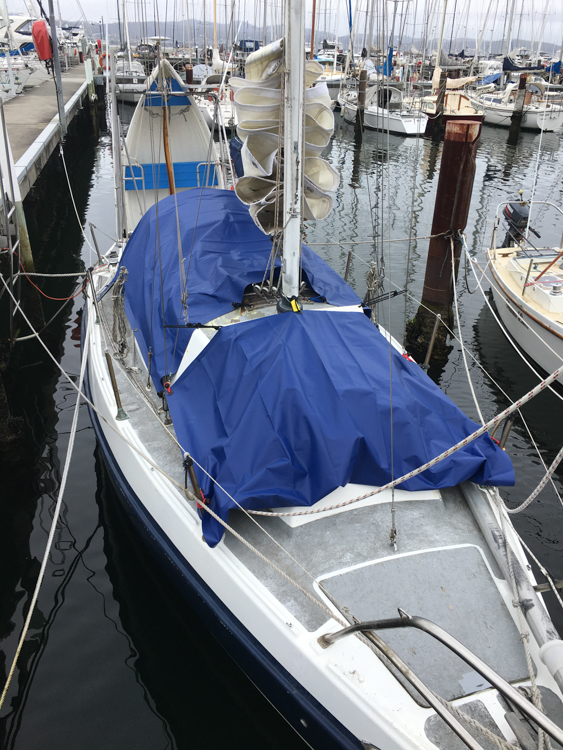
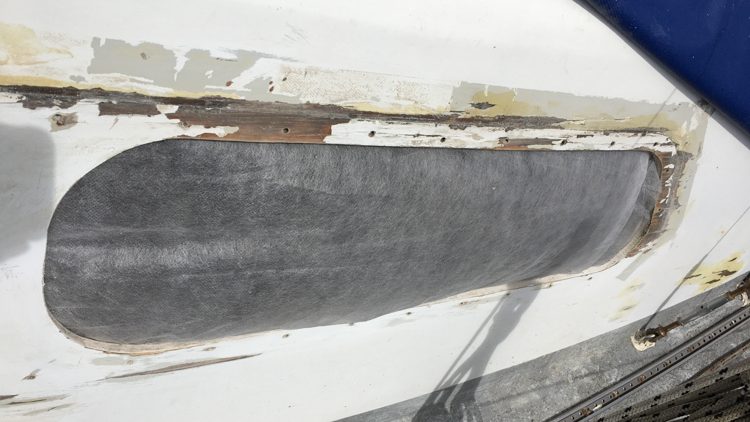
Even though the wood was sodden in places, once covered in a tarpaulin it dried out without warping, although there were significant cracks and dints. Woodwork is not my favourite activity, so I cast around for an easier way to repair the damage. It was then that I discovered the delights of the amazing West System 105 epoxy resin.
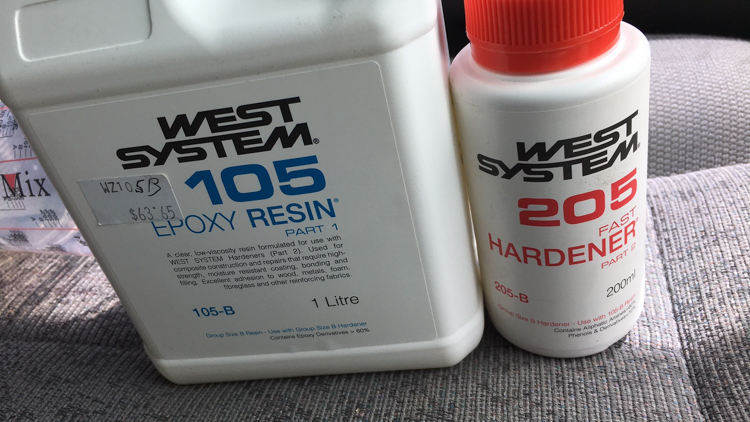
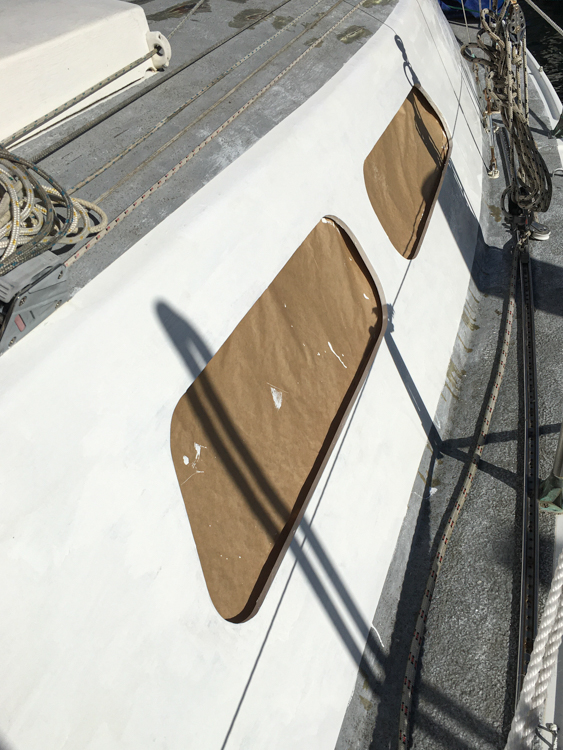
This stuff is incredible. You mix it up and slather it onto wood (or fibreglass), and it soaks its way inside the layers, chasing away any water, and then sets to a hard but slightly flexible finish. I spent several days happily painting it onto the exposed wood, and watching it vanish completely inside, before finally it had seeped in everywhere it wanted to go and the final coat stayed on the surface, looking like a thick varnish.
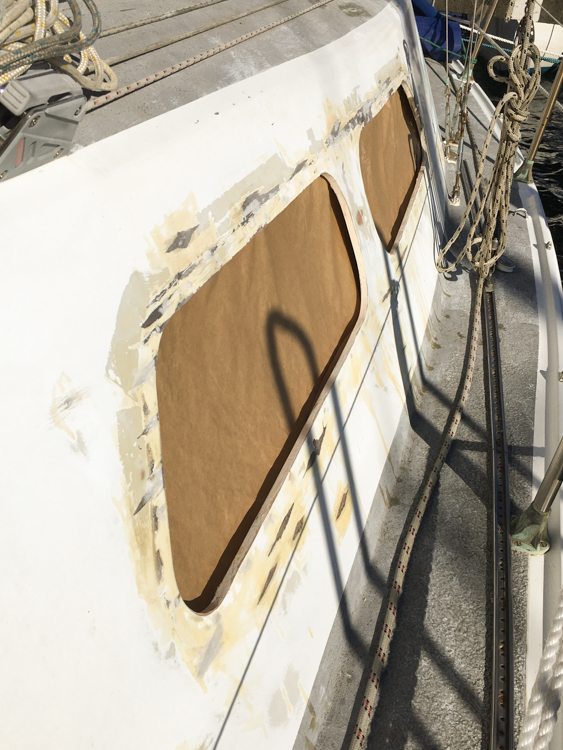
You know how this goes. Sand, fill, sand, fill, sand, fill…
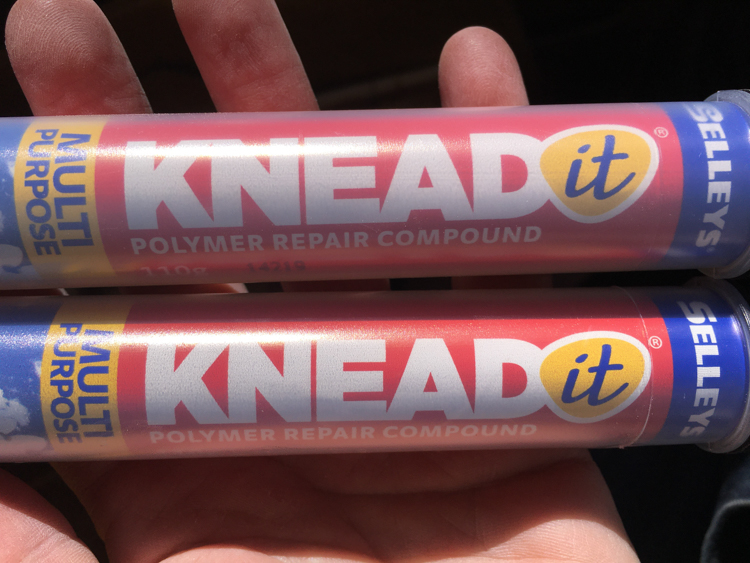
Once I’d done the major work with West System 105, I filled small imperfections with Knead-It, a two-part filler that comes in a handy tube which means that you can just tear off exactly the amount that you need. Eventually there were so many different colours and textures that I couldn’t work out by eye what was flat and what wasn’t, so it was time to add some paint.
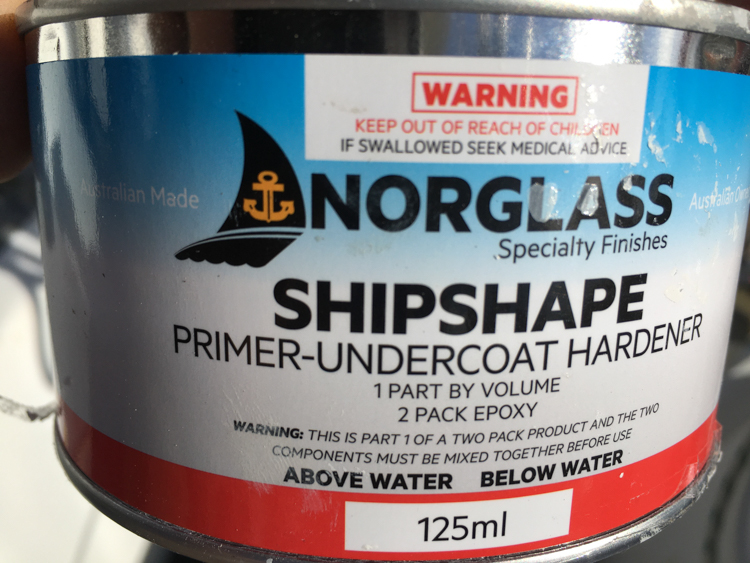
I used Norglass Shipshape two-pack primer, which sticks to pretty much everything that my boat is made of. On my first go, I made the mistake of brushing it straight after mixing, when it was still runny and very hard to work with, but I learned to patiently wait the crucial first ten minutes for it to go off. It went on pretty well after that.
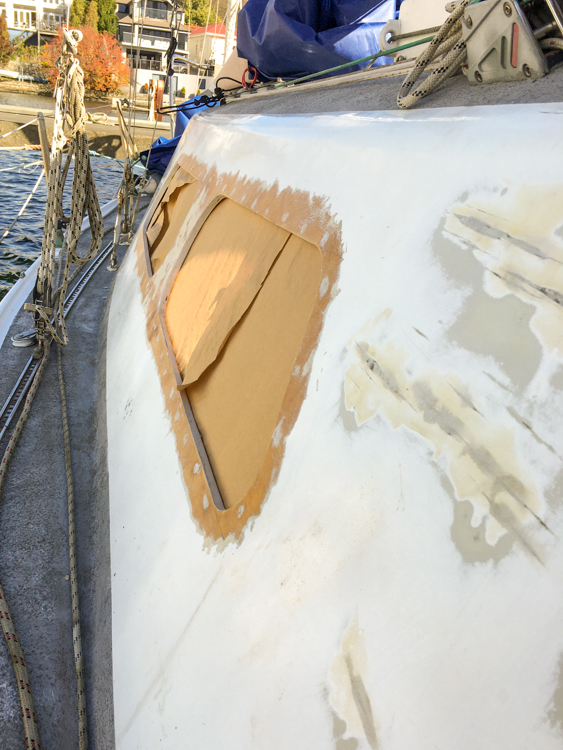
Once it was all the same colour, my eye was no longer distracted by all the different textures, and I could properly see the lumps and bumps that needed sanding and filling.
A second coat of primer, a final sand and minor filling, and then a top-coat of two-pack Norglass Norcote. For a short while, at least one part of the boat looked like a million dollars.
I waited a couple of hours for it to dry, but the weather was against me. The temperature was hovering around ten degrees, which is the minimum for curing, and the surface stayed resolutely tacky. Rain was forecast and I had to pick up my daughter from school, so I covered the boat in a tarp.
That night, the wind blew the tarp in so that it stuck to the paint, and I had to peel the whole thing off. Then I had to sand off most of my hard-won polished finish, and deal with some slumping that had occurred in the cold of the night. But at least the surface was now relatively flat and white, and I could move on to the next phase.
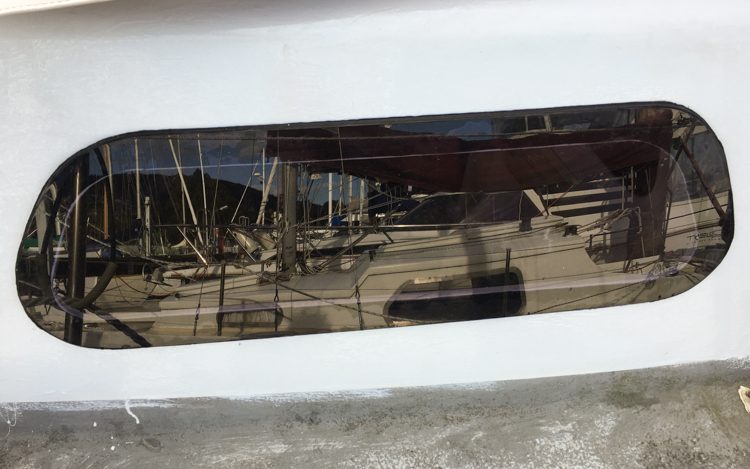
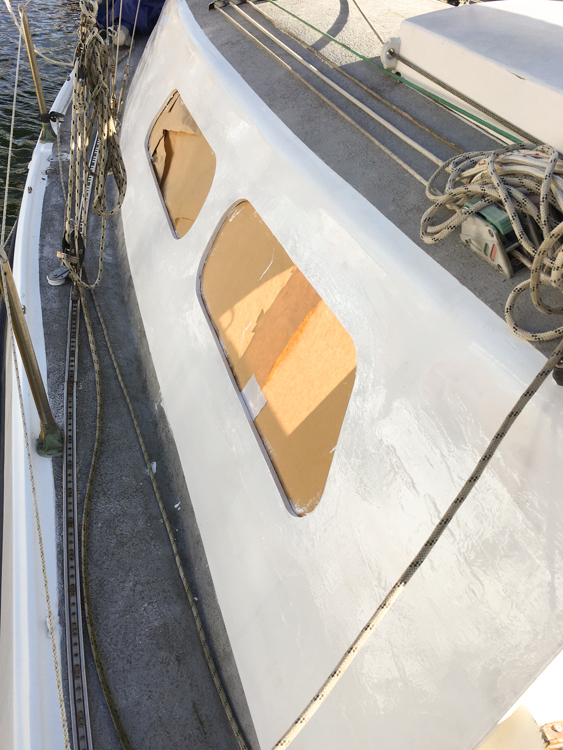
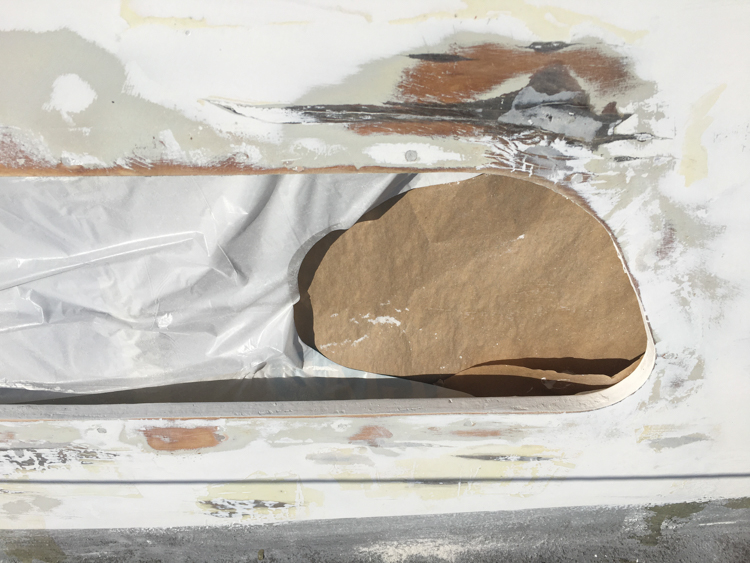
Using butcher paper taped to the dock, I made up templates of the new windows that I wanted to fit. They were significantly larger than the originals, because I wanted to completely cover the areas that had been weakened by screw-holes.
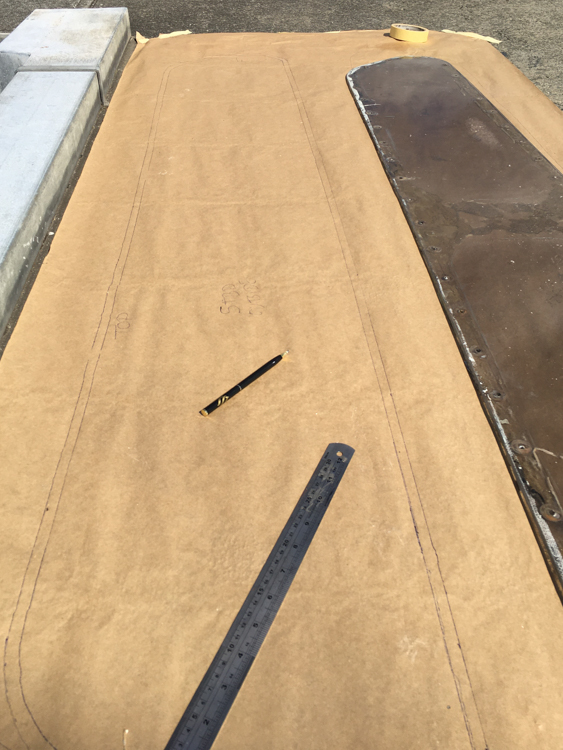
Following local advice, I took the templates to Eagle Plastics in Hobart, who gave me a warm welcome and made me some lovely new acrylic windows, 5mm thick with a bevelled edge and a smoky tint.
Scrolling through sailing forums, it soon became clear that the only choice for adhesive was 3M Very High Bond (VHB) tape, which was readily available on the internet from Embossing and Tape Supplies (ETS). This double-sided tape is incredibly easy to use and forms a powerful bond with both the acrylic window and the painted boat.
For the first window, I did make a mistake, in that I didn’t quite butt up the black tape to completely hide the underlying white paint. I had thought that the tint and the shadow would hide the joins, but I was wrong.

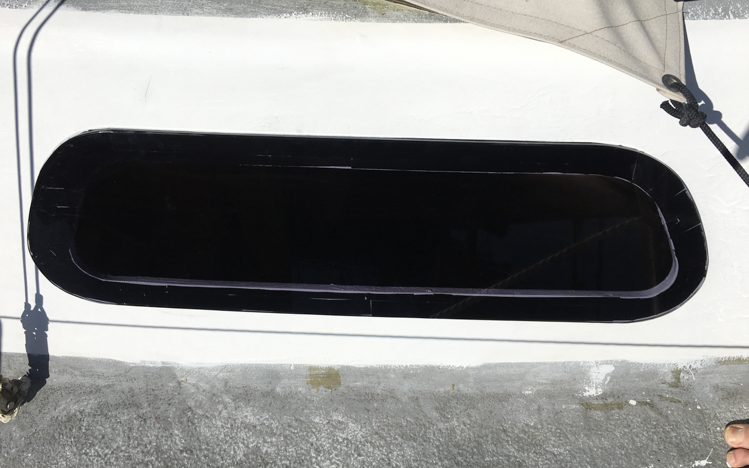
In retrospect, I should have used a little black paint either on the window frame or around the inside edges of the window, but such is the power of VHB that you only get the one chance: Once the window was in, I wasn’t going to get it out again without a large hammer.
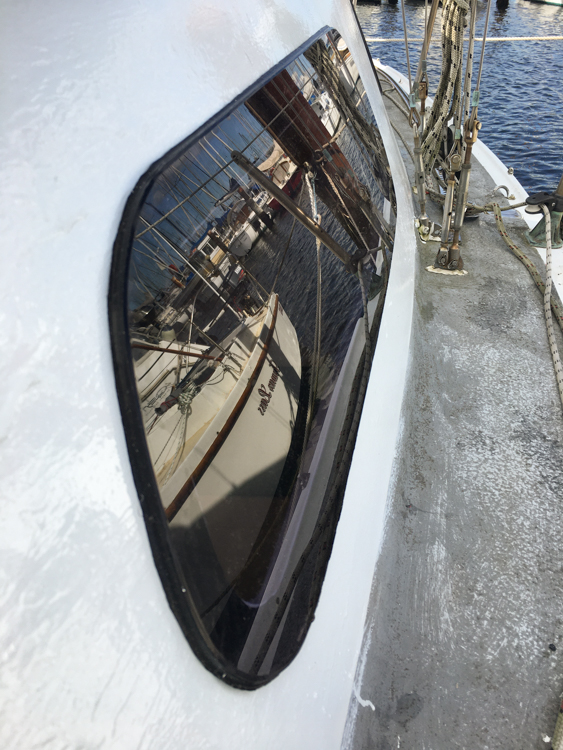
I did better with the rest of the windows, though. You live and learn.
And finally, to make the whole thing waterproof, I needed to run beading around the outside edges.
Now, according to the forums, there is one and one only solution, and that is to use Cow Dorning’s CowSil 795. In my innocence I had assumed that I would just go and buy some when I needed it, but this American product is not widely available in Tasmania, and I wasn’t going to wait to have it shipped from the US.
I contacted the local Fibreglass Shop who advised that their marine customers have always had good results with an Australian product, FixTech FS200, and moreover they had it waiting for me in stock.
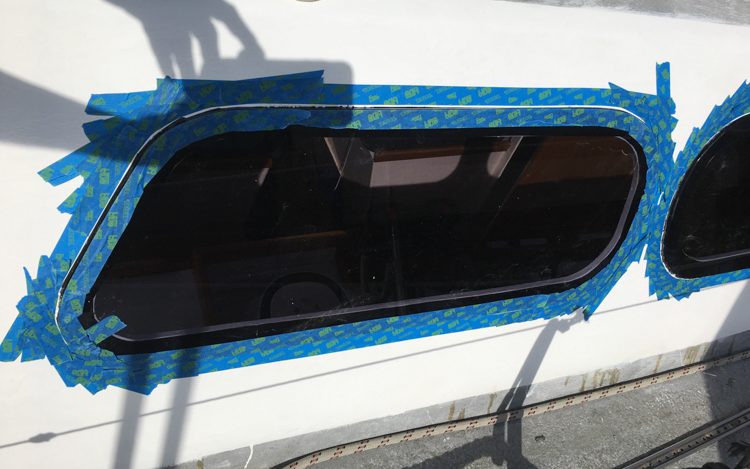
I got out the 3M Scotch blue (in my opinion the only worthwhile masking tape), and carefully taped both the acrylic window and the surrounding painted woodwork.
Like any silicone product, it was quite messy and needed care, but I found that it went on easily enough as long as I didn’t apply it too thickly. The back of a bamboo teaspoon gave a nice finish.
I removed the tape straight away, which gave me the chance to fix up any over-thick portions with my trusty wooden spoon (wetted with soapy water) before it started to cure. No matter what you do, silicone gets everywhere, but I found that dropped spots were easily removed with Goof Off, which also served to clean my spoon and fingers between applications.
On the whole, I think it came out OK.