I have finally come to that part of the rebuild process where I have dealt with all the big stuff – the engine and the windows and the larger leaks – and can focus on fixing the little things.
The Switch Panel
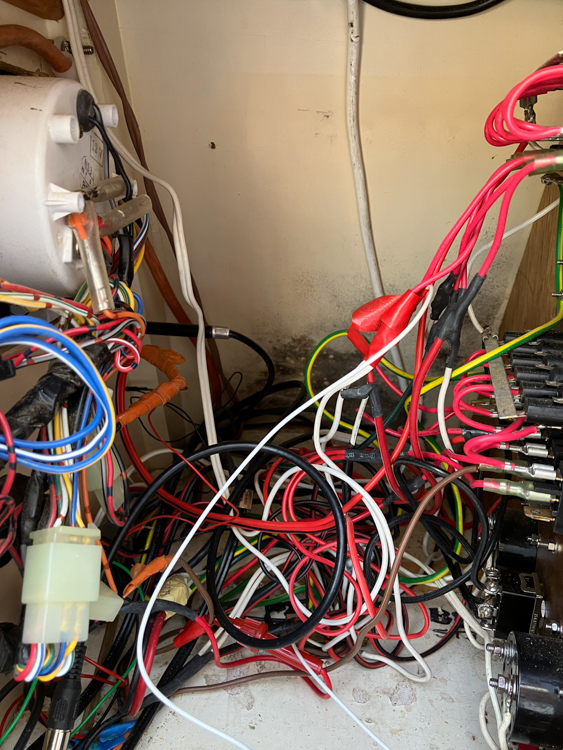
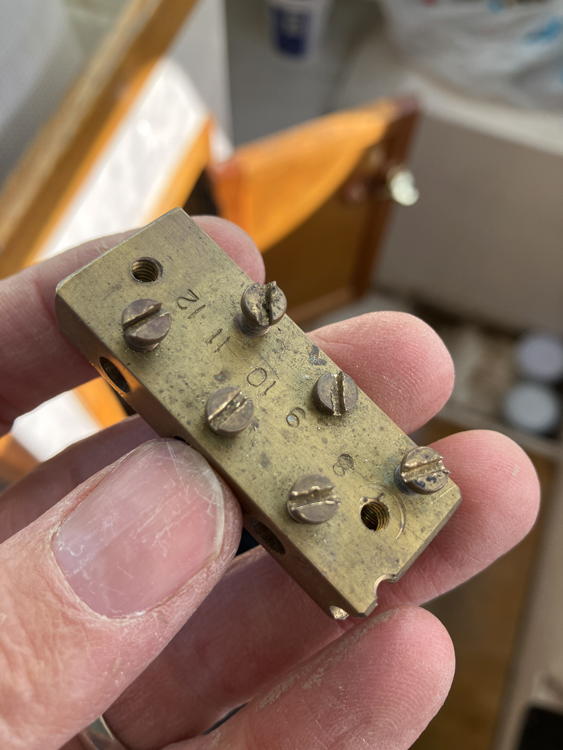
I had already spent some time already tracing mysterious electric lines around the interior, stripping out the unused ones and labelling the useful ones. One of the tasks that I kept putting off was to decipher the switch panel, because behind it was just a huge ball of loose wires. It was impossible to get my hand in to unthread them, because all the earth leads had been wired into a single brass block that lived in the middle of the snarl.
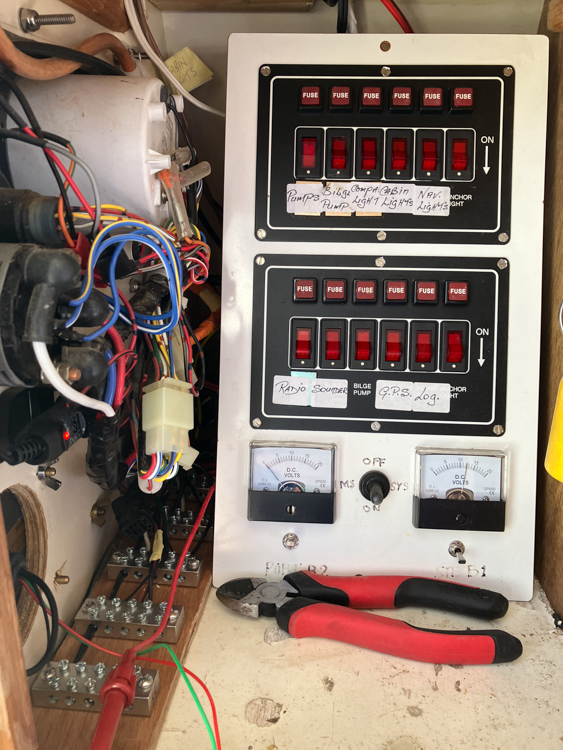
One sunny day, I arrived with my soldering iron, some reels of wire, and a lot of patience, and began to unravel.
The reason for the snarl was that, although generally the wiring on the boat is sound, it had had decades of additions and changes, every one of which had all been led back to the same switch panel (and especially to the same earth block).
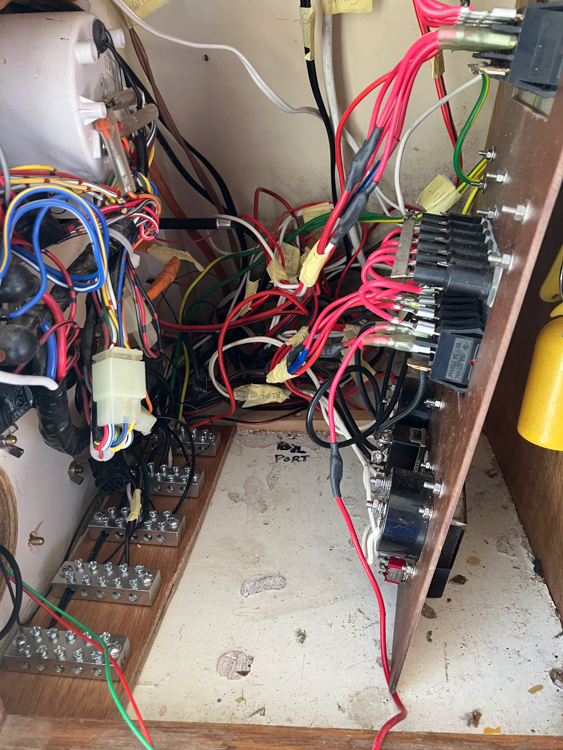
I slowly traced all the wires, and labelled each one, and excised excess cable and replaced it where it was a bit short. I made up a wooden board with more earth blocks than I will ever need, so that each earth wire is separate from the others and easy to distinguish.
Cheval’s Eyes
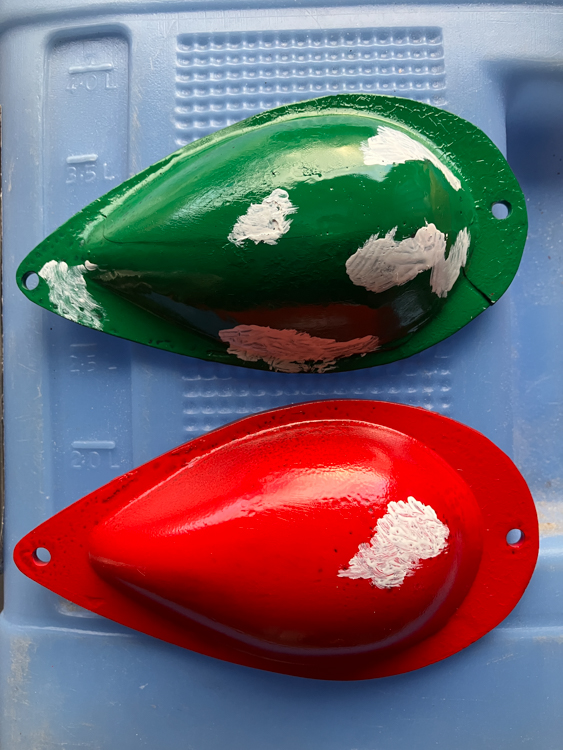
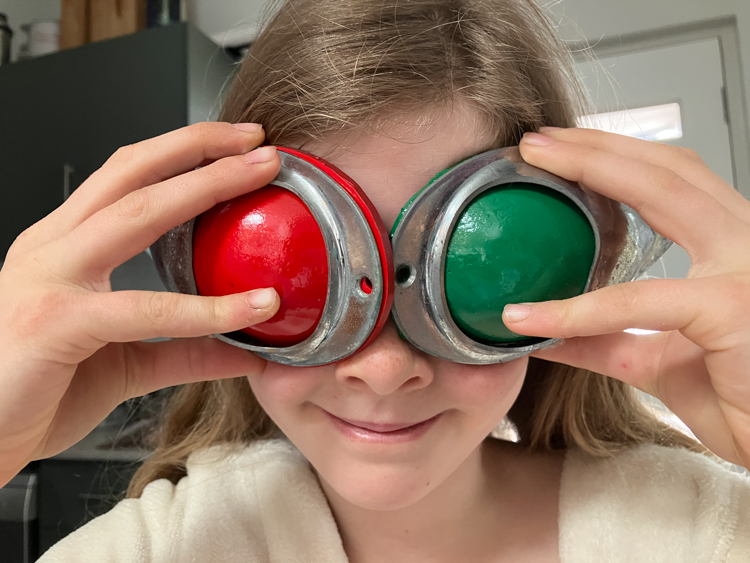
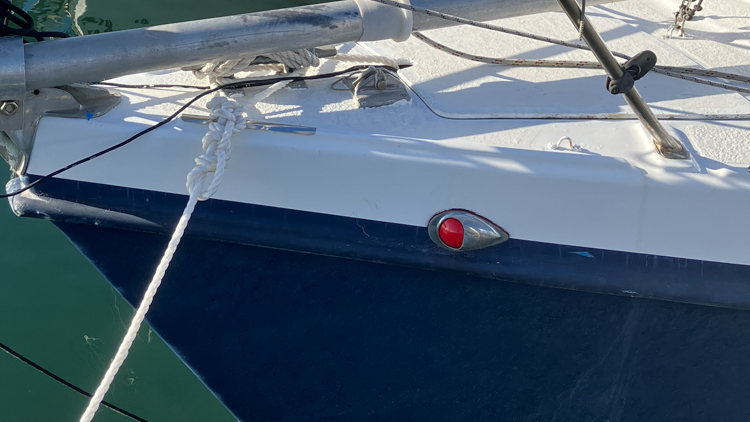
Cheval has these lovely old chromed navigation lights on either side of the bow. The lenses are faded, the starboard one is smashed, and neither of them are connected to the electrics, having been replaced by a modern unit on the pulpit.
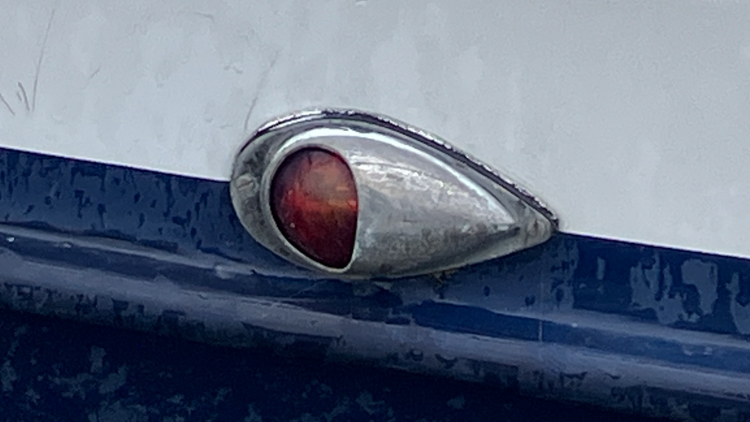
Nevertheless, I rather like them, so one day I took them off and had a think about how I could make them look a bit better (and less leaky).
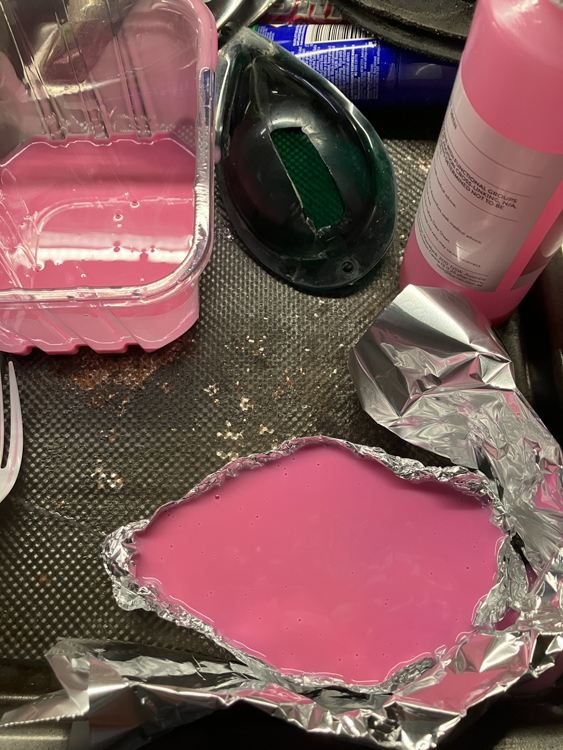
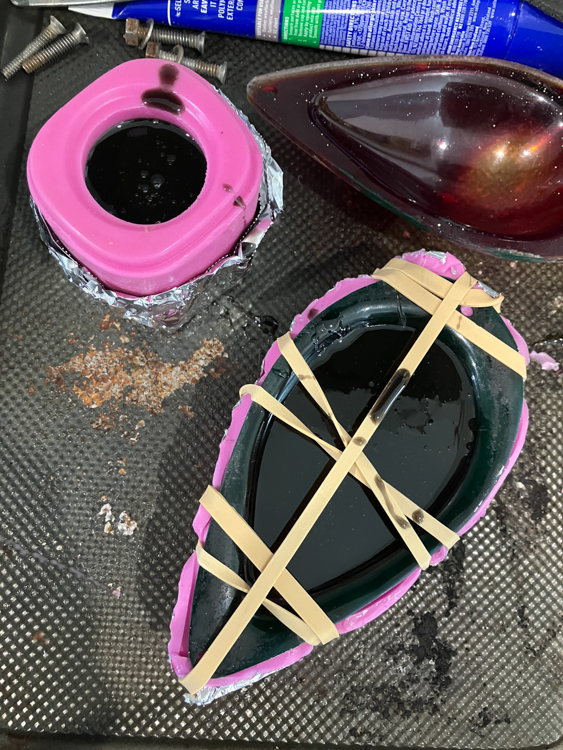
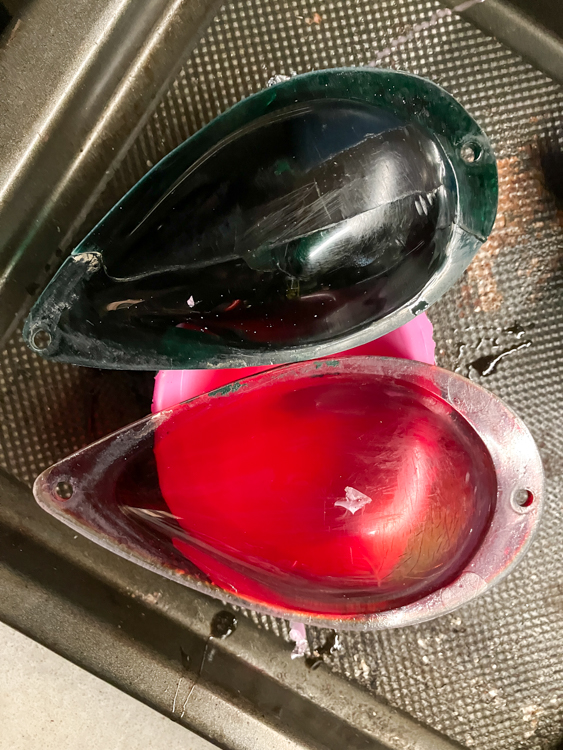
My first task was to fix the starboard lens, which was broken. I had some Pinkysil silicone left over from another project, so I made a mould of the inside of the port lens. Then I strapped the broken lens into the mould, and filled the whole thing up with F-190 polyurethane.

Of course, the starboard lens was now solid instead of being a transparent shell, but this was fine because I wasn’t going to use them as navigation lights. In any event, the lenses were so degraded from decades of sun that they had barely any colour.
I popped out the repaired shell, and – after quite a bit of experimentation to find something that would stick to both acrylic and polyurethane – discovered some spray paints that gave a bright finish, and gave them a few coats.
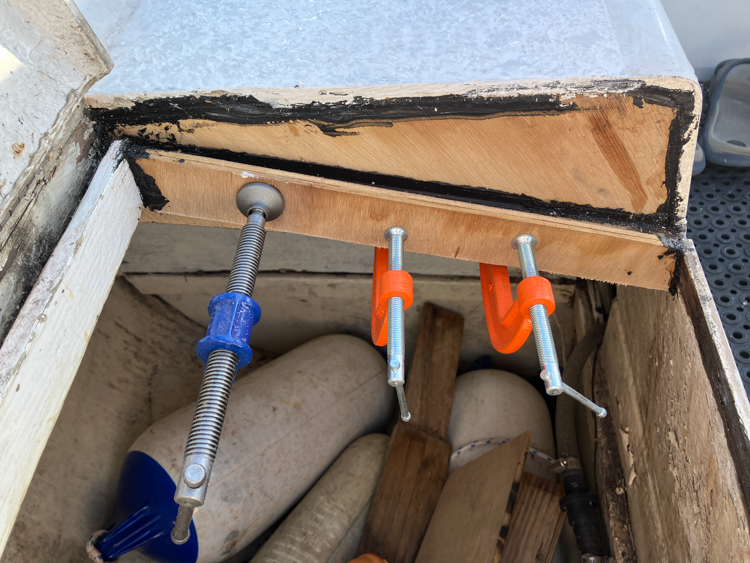
Leaky Lazarette
The locker hatches in the cockpit will, naturally, allow rainwater to seep in along the hinge line and down the edges. There are supposed to be drainage channels to catch it and shed it into the cockpit sole, but some of them had rotted completely away, allowing rainwater to drain into the bilges underneath the engine. This would have been part of the problem that caused my oil leak.
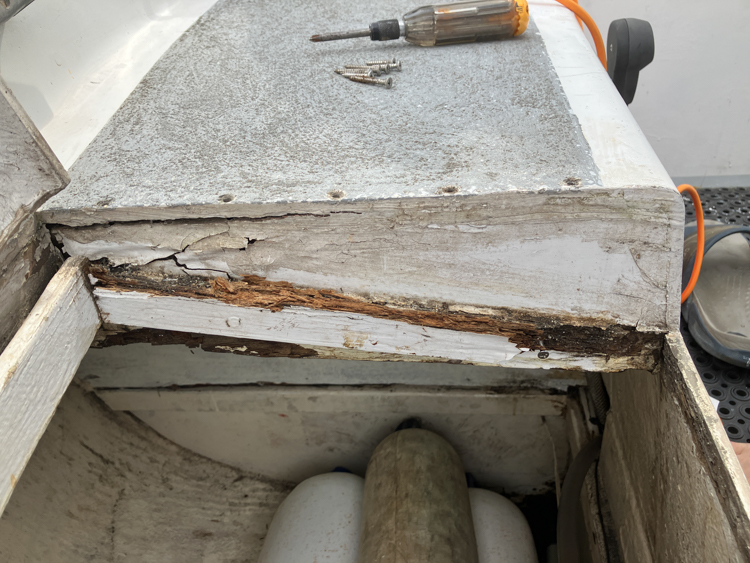
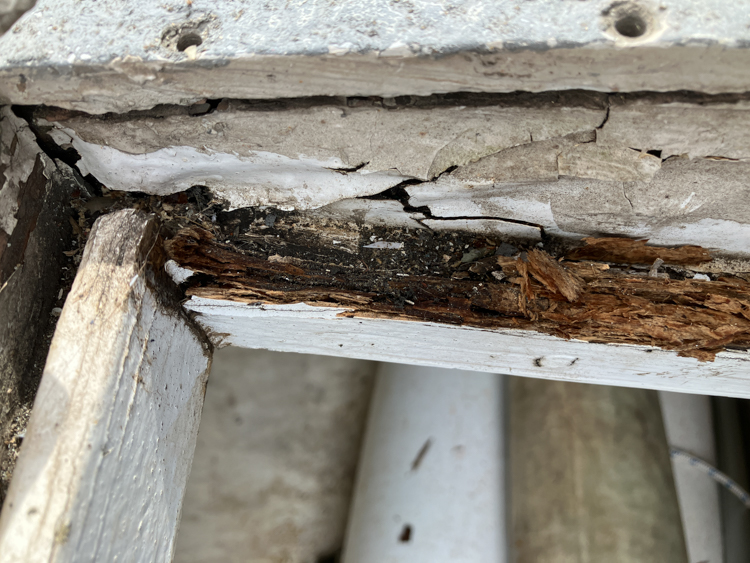
Some new wood, a lot of elbow-grease, some industrial glue, and some left-over window sealant saved the day.
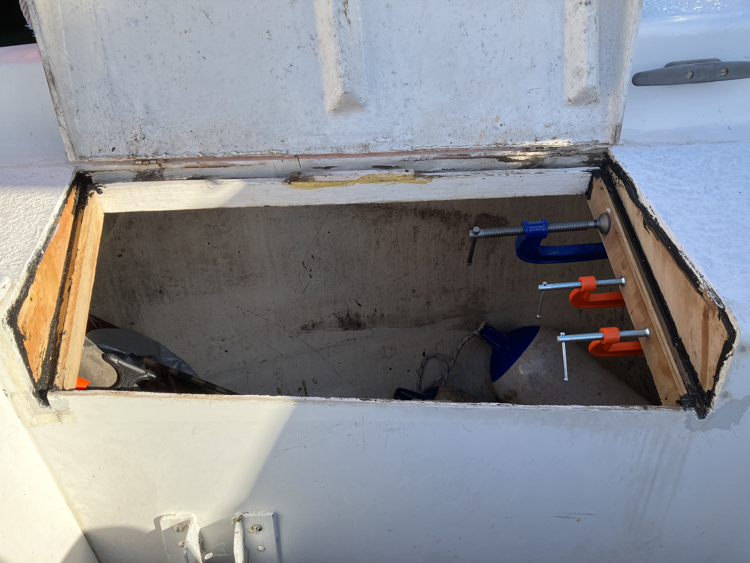
We went away for 7 weeks and came back, and the bilges were bone-dry.
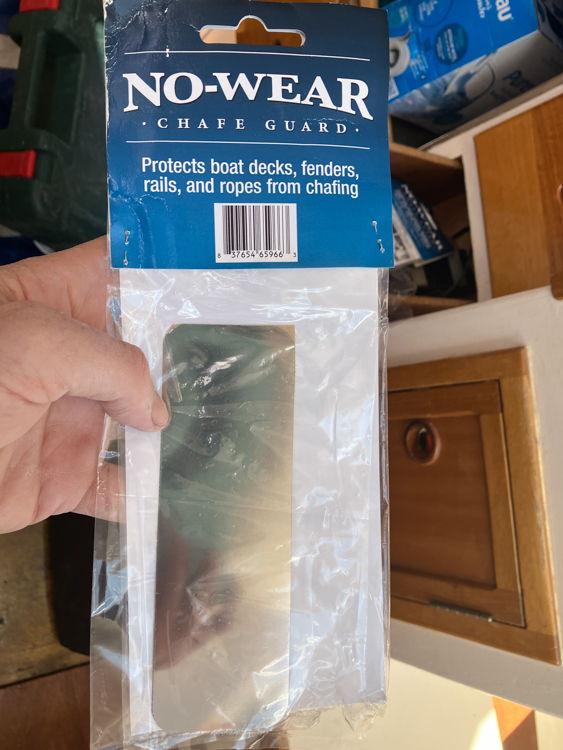
Keeping it Tidy
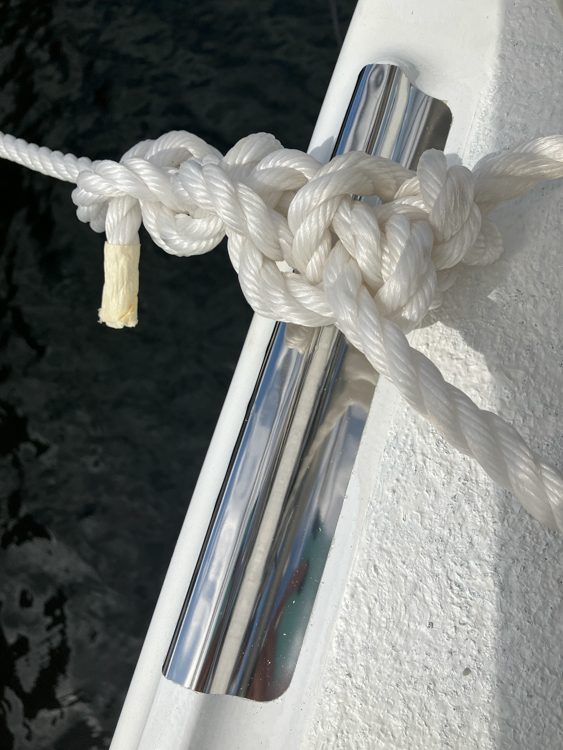
I bought some No-Wear chafe guards to protect my new paintwork. They are flexible stainless steel with a strong adhesive backing, so you can mould them to the shape of your boat. Handy if you don’t have hard gunwales, and your boat is made from soft plastic.
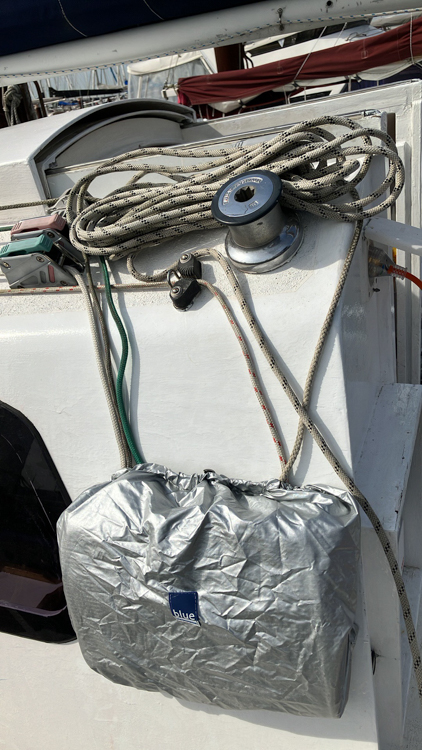
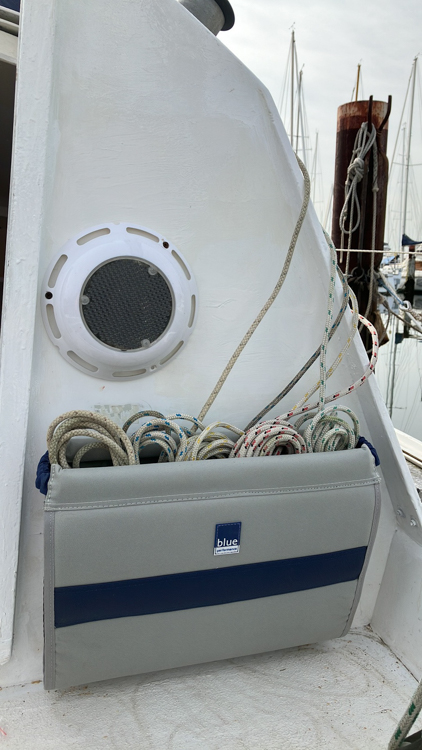
I added some rope bags and a solar-powered extractor fan…
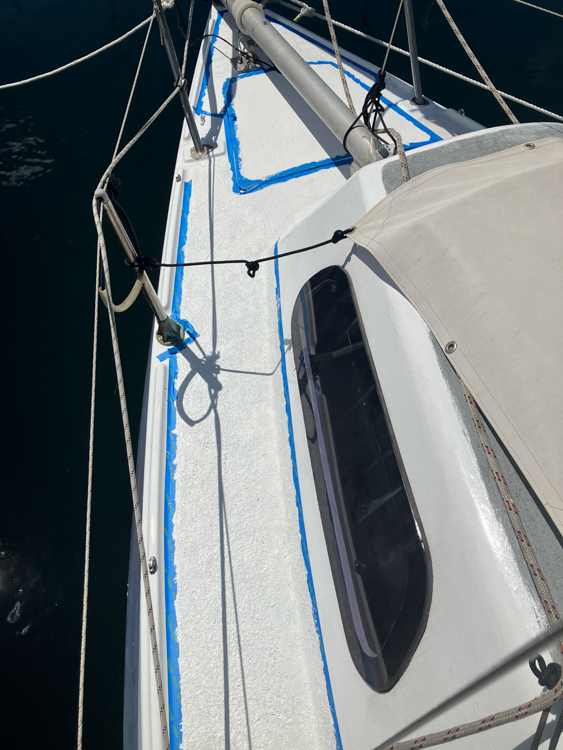
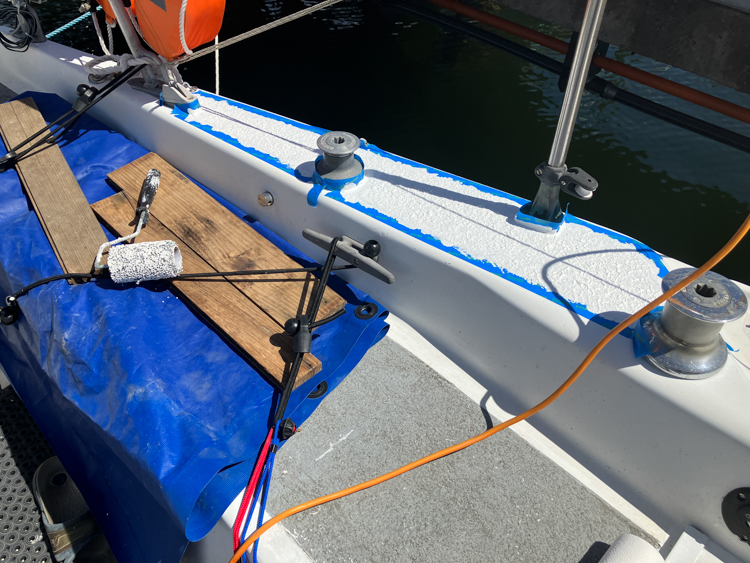
The final touches of deck paint
I’ve been slowly moving around the deck, checking fittings and filling holes, applying two-pack undercoat, and finally finishing off with either Kiwi-Grip textured non-slip deck paint, or Norglass Weatherfast gloss enamel. It looks OK, I think.

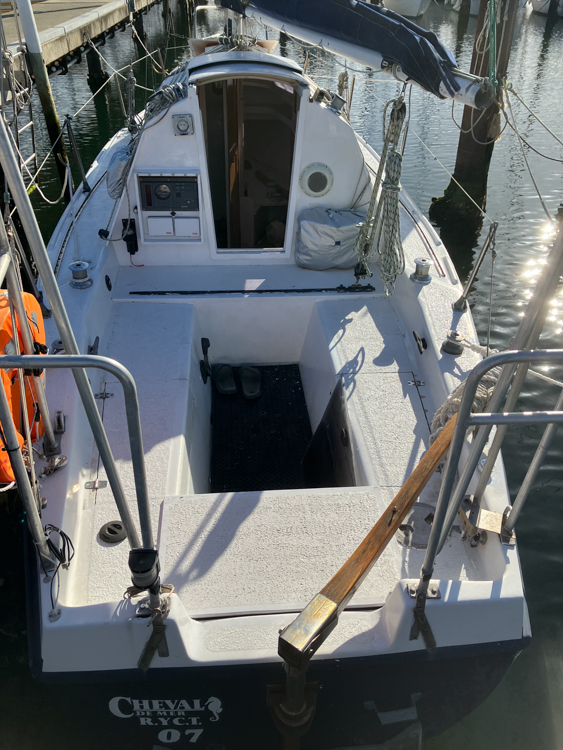
She just needs some soft furnishings, a bigger solar panel, and dinghy davits. She’s almost good to go!
A true labour of love!
Looking very very good ????
Thanks, David. She’s getting there.